Why Has My Windows 11 Laptop Become Slow After an Update?
It’s a frustratingly common scenario: you see the “Update and Restart” notification, you let your laptop do its thing, and suddenly, your once snappy machine feels like it’s running through molasses. Instead of the promised “improvements and security patches,” you are greeted with lagging cursors, apps that take an eternity to open, and a cooling fan that sounds like a jet engine. If your laptop is slow after updating Windows 11, you aren’t alone, and more importantly, your hardware probably isn’t the problem.
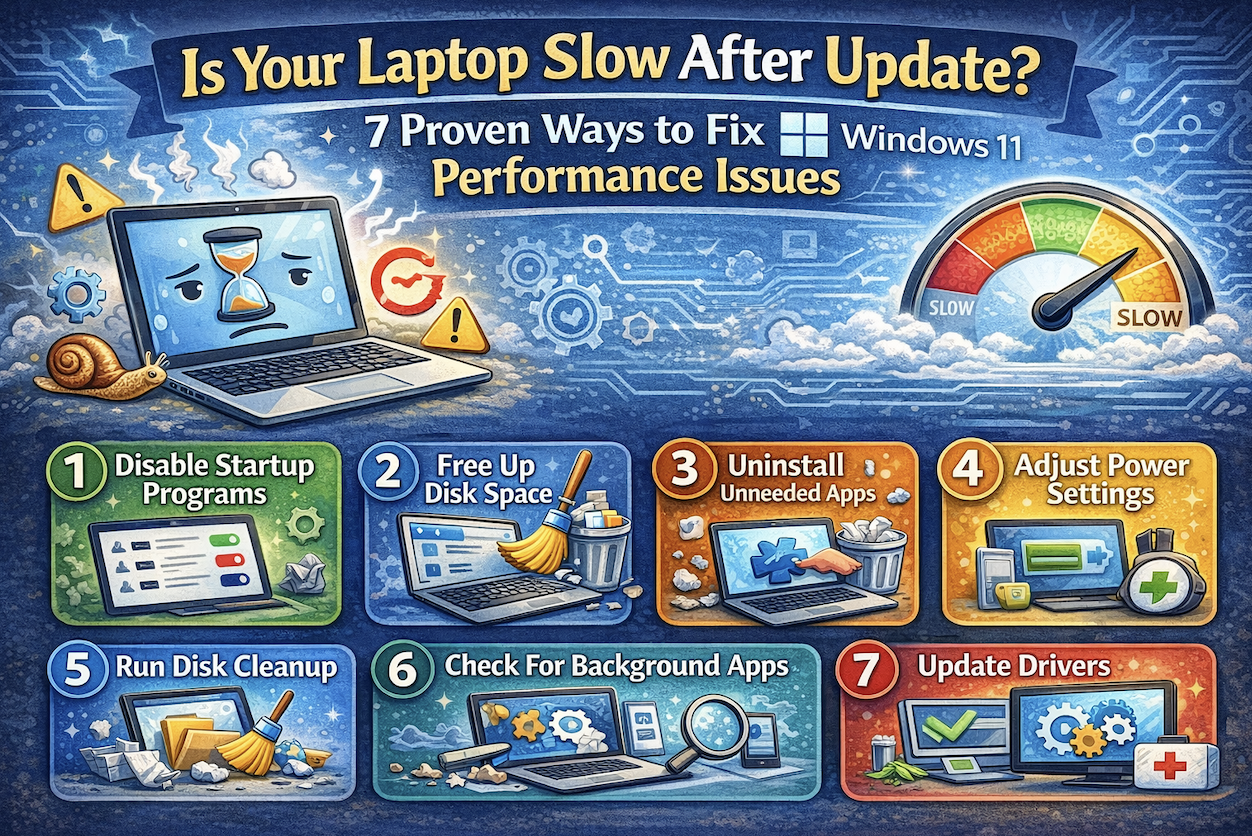
Windows 11 updates are massive. They don’t just add new features; they often reset system configurations, trigger deep-level background indexing, and sometimes even introduce bugs that cause “memory leaks.” This guide is designed to help you navigate through the post-update sludge. We will cover everything from managing system resource hogs to deep cleaning your temporary files and updating driver signatures. By the time you finish reading, you’ll have a clear roadmap to restoring your laptop’s peak performance without needing to buy a new one.
1. Give the System Time to Complete Background Tasks
One of the most overlooked reasons a laptop feels sluggish immediately after a Windows 11 update is that the update process isn’t actually finished when you reach the desktop. Windows often performs “post install” tasks like re-indexing your files for Search, optimizing the .NET Framework, and updating Windows Store apps in the background. These processes are incredibly CPU and disk-intensive. If you try to jump straight into a heavy Chrome session or a Zoom call, your processor becomes overwhelmed trying to juggle the background maintenance and your active tasks.
In many cases, the best “fix” is simply patience. Leave your laptop plugged into power and let it sit idle for about 30 to 60 minutes. This allows the Windows Search Indexer and the System Image Manager to finish their work. If you hear your fan spinning loudly even though you aren’t doing anything, that’s a sign that background optimization is still underway. Once these tasks conclude, the CPU usage should drop back down to 1% to 5% at idle, and your speed will naturally return. If the slowness persists after an hour of idling, it’s time to move on to more active troubleshooting steps.
2. Check and Disable High-Impact Startup Apps
Windows 11 updates have a habit of “helpfully” re-enabling certain apps to run as soon as you log in. When your laptop is slow after updating Windows 11, the culprit is often a congested startup sequence. Apps like Microsoft Teams, Spotify, Steam, or various cloud storage services might be set to “High Impact,” meaning they suck up significant RAM and CPU cycles the moment your desktop appears. If five or six of these programs try to launch simultaneously, your laptop will feel unresponsive for several minutes after every boot.
To fix this, right-click the Start button and select Task Manager. Navigate to the Startup apps tab. Here, you will see a list of every program authorized to start with Windows. Check the “Startup impact” column carefully. Anything labeled “High” should be scrutinized. Unless you absolutely need that program running the second you turn on your computer, right-click it and select Disable. This doesn’t uninstall the app; it just prevents it from stealing resources until you actually click on it. Reducing your startup load is one of the fastest ways to make a Windows 11 machine feel brand new again.
3. Clear the Windows Update Cache and Temporary Files
When Windows installs a major update, it creates a massive trail of digital debris. It keeps “Delivery Optimization” files (which help share updates with other PCs) and old system files just in case you want to “roll back” to a previous version. While these are useful for emergencies, they can take up dozens of gigabytes of space and interfere with the system’s ability to access data quickly. A cluttered drive, especially if it’s an SSD nearing its capacity, will significantly slow down Windows 11.
To clear this out, go to Settings > System > Storage. Wait for the system to calculate what’s taking up space, then click on Temporary files. You will likely see a large category for “Previous Windows installation(s)” or “Windows Update Cleanup.” Check these boxes (but be careful not to check “Downloads” unless you want that folder emptied!) and click Remove files. This flushes the update cache and removes the “ghosts” of the previous OS version. By freeing up this overhead, you give the Windows file system more “room to breathe,” which directly translates to faster file loading and smoother multitasking.
4. Update Your Graphics and Chipset Drivers
A common reason for a laptop slowing down after updating Windows 11 is a “Driver Mismatch.” A Windows update might change how the operating system interacts with your hardware, but if your specific hardware drivers (the translators between software and hardware) are outdated, things get messy. This is especially important for built-in graphics like Intel UHD or AMD Radeon, along with their chipset drivers. If the OS is sending commands that the driver doesn’t fully understand, you’ll experience lag, screen stuttering, or even “Blue Screen” errors.
Don’t depend only on Windows Update for this task. Instead, visit the manufacturer’s website for your specific laptop (like Dell, HP, Lenovo, or ASUS). Look for the “Support” or “Drivers” section and download the latest Chipset and Display drivers. Alternatively, if you have an NVIDIA or AMD dedicated GPU, use their proprietary software (GeForce Experience or Adrenalin) to ensure you have the latest “Game Ready” or “Studio” drivers. Refreshing these core drivers ensures that the new Windows 11 update can communicate efficiently with your CPU and GPU, eliminating the bottlenecks that cause UI lag.
5. Adjust Visual Effects for Best Performance
Windows 11 is a beautiful operating system, filled with rounded corners, translucent windows (Mica effect), and smooth animations. However, these visual flourishes require a surprising amount of GPU power. Following an update, the system might have reset your “Performance Options” to the default, which prioritizes “Looking Best” over “Working Best.” On laptops with older processors or limited RAM, these animations can cause the interface to feel heavy and unresponsive.
To lighten the load, press the Windows Key, type “Adjust the appearance and performance of Windows,” and hit Enter. A list of visual effects shows up. For an immediate speed boost, select the radio button for “Adjust for best performance.” This will turn off things like shadows under mouse pointers and window animations. If you find that too “ugly,” you can choose “Custom” and only keep “Smooth edges of screen fonts” checked. Disabling these unnecessary tasks frees up your graphics processor to focus on your actual work, making the entire OS feel much more “snappy” and immediate.
6. Run the DISM and SFC Command Tools
Sometimes, the update process itself doesn’t go perfectly. A power flicker or a minor software conflict during the installation can lead to “corrupt system files.” When essential Windows files are damaged, the system has to work twice as hard to process simple requests, leading to the dreaded post-update slowdown. Windows 11 has built-in “doctors” called DISM (Deployment Image Servicing and Management) and SFC (System File Checker) that can scan your system and repair these broken files automatically.
To run these, right-click the Start button and select Terminal (Admin). Start by typing this command and press Enter:
DISM /Online /Cleanup-Image /RestoreHealth
This connects to Windows Update to download healthy versions of corrupted files. Once that finishes, type:
sfc /scannow
And hit Enter. This tool will scan all protected system files and replace any corrupted ones with the healthy versions DISM just retrieved. It’s a powerful “reset button” for the core logic of your operating system and often fixes deep-seated performance issues that typical “cleaner” apps can’t touch.
7. Change Your Power Plan to High Performance
Laptops are designed to save battery life, often at the expense of speed. Sometimes, a Windows 11 update will reset your power profile to “Balanced” or “Power Saver,” which aggressively “throttles” (slows down) your CPU to keep the laptop cool and save energy. If your CPU is capped at 50% of its potential speed, of course, your laptop is slow after updating Windows 11. Changing this setting tells the OS to stop holding back and use the full power of the hardware.
Go to Settings > System > Power & battery. Look for the Power mode dropdown menu. If it’s set to “Best power efficiency” or “Balanced,” change it to “Best performance.” Note that this will drain your battery faster if you aren’t plugged in, but it will immediately eliminate the “lag” associated with the CPU trying to wake up from a low power state. For even deeper control, go to the classic Control Panel > Hardware and Sound > Power Options and ensure a high-performance plan is active. This ensures your processor stays at its “base clock” speed or higher, providing a consistent, fast experience across all your applications.
FAQ’s
How do I fix Windows 11 lag after the update?
The fastest way to fix Windows 11 lag is to disable high-impact startup apps in the Task Manager, clear the “Windows Update Cleanup” files in Storage settings, and ensure your Power Mode is set to “Best Performance.”
Why is my laptop so slow after the latest update?
It is usually due to background indexing, corrupted system files, or outdated drivers that are no longer compatible with the new OS version. Running an SFC scan and updating your chipset drivers usually resolves this.
Can I undo a Windows 11 update?
Yes. If the slowness is unbearable, go to Settings > System > Recovery and look for the “Go back” option. This is usually available for 10 days after a major update.